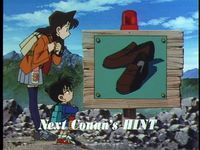
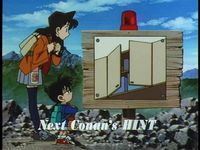
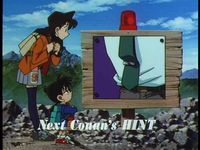
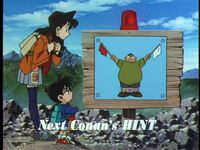
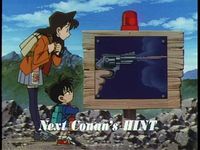
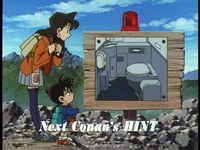
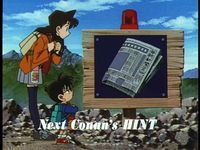
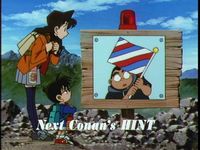
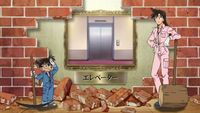
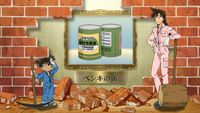
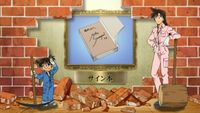
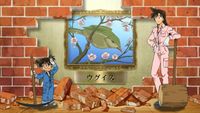
Difference between revisions of "Next Conan's Hint"
From Detective Conan Wiki
m |
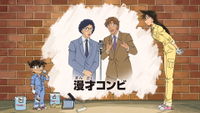
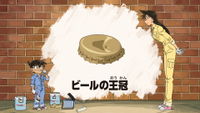
Intervencion (talk | contribs) (General improvement of Next Conan's Hint images. No subs, no TV logo, better colours.) |
||
| Line 1,428: | Line 1,428: | ||
| [[The Client Full of Lies|The Client Full of Lies (Part 1)]] | | [[The Client Full of Lies|The Client Full of Lies (Part 1)]] | ||
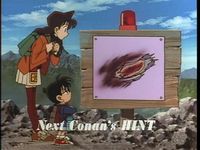
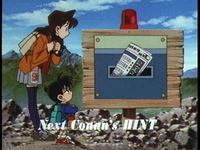
| Morning newspaper / Shizuka Ikenami | | Morning newspaper / Shizuka Ikenami | ||
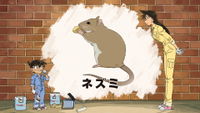
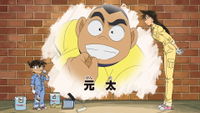
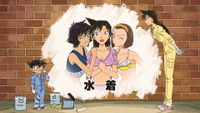
| − | | [[File: | + | | [[File:Nch_0219.jpg|200px]] |
| [[File:nch re0219.png|200px]] | | [[File:nch re0219.png|200px]] | ||
|- | |- | ||
| Line 1,434: | Line 1,434: | ||
| [[The Client Full of Lies|The Client Full of Lies (Part 2)]] | | [[The Client Full of Lies|The Client Full of Lies (Part 2)]] | ||
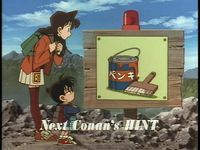
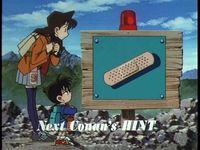
| Bandage / Heiji Hattori | | Bandage / Heiji Hattori | ||
| − | | [[File: | + | | [[File:Nch_0220.jpg|200px]] |
|[[File:nch re0220.png|200px]] | |[[File:nch re0220.png|200px]] | ||
|- | |- | ||
| Line 1,440: | Line 1,440: | ||
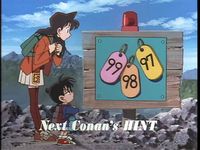
| [[And Then There Were No Mermaids|And Then There Were No Mermaids (The Case)]] | | [[And Then There Were No Mermaids|And Then There Were No Mermaids (The Case)]] | ||
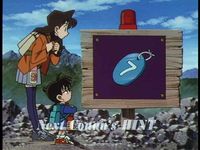
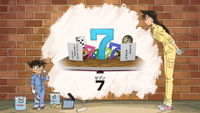
| Numbered tag | | Numbered tag | ||
| − | | [[File: | + | | [[File:Nch_0221.jpg|200px]] |
| | | | ||
|- | |- | ||
| Line 1,446: | Line 1,446: | ||
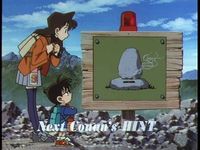
| [[And Then There Were No Mermaids|And Then There Were No Mermaids (The Deduction)]] | | [[And Then There Were No Mermaids|And Then There Were No Mermaids (The Deduction)]] | ||
| Mermaid's grave | | Mermaid's grave | ||
| − | | [[File: | + | | [[File:Nch_0222.jpg|200px]] |
| | | | ||
|- | |- | ||
| Line 1,452: | Line 1,452: | ||
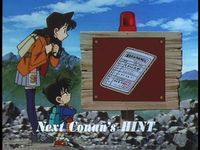
| [[And Then There Were No Mermaids|And Then There Were No Mermaids (The Resolution)]] | | [[And Then There Were No Mermaids|And Then There Were No Mermaids (The Resolution)]] | ||
| Insurance card | | Insurance card | ||
| − | | [[File: | + | | [[File:Nch_0223.jpg|200px]] |
| | | | ||
|- | |- | ||
| Line 1,458: | Line 1,458: | ||
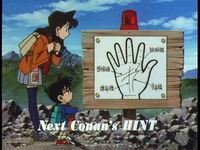
| [[The Secret of the High Sales]] | | [[The Secret of the High Sales]] | ||
| Palm reading | | Palm reading | ||
| − | | [[File: | + | | [[File:Nch_0224.jpg|200px]] |
| | | | ||
|- | |- | ||
| Line 1,464: | Line 1,464: | ||
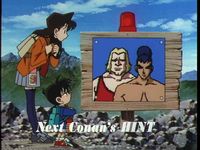
| [[The Battle Game Trap|The Battle Game Trap (Part 1)]] | | [[The Battle Game Trap|The Battle Game Trap (Part 1)]] | ||
| Game character | | Game character | ||
| − | | [[File: | + | | [[File:Nch_0225.jpg|200px]] |
| | | | ||
|- | |- | ||
| Line 1,470: | Line 1,470: | ||
| [[The Battle Game Trap|The Battle Game Trap (Part 2)]] | | [[The Battle Game Trap|The Battle Game Trap (Part 2)]] | ||
| Shoes | | Shoes | ||
| − | | [[File: | + | | [[File:Nch_0226.jpg|200px]] |
| | | | ||
|- | |- | ||
| Line 1,476: | Line 1,476: | ||
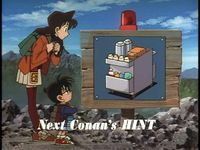
| [[The Murderous Pottery Class|The Murderous Pottery Class (Part 1)]] | | [[The Murderous Pottery Class|The Murderous Pottery Class (Part 1)]] | ||
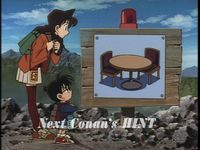
| Cupboard | | Cupboard | ||
| − | | [[File: | + | | [[File:Nch_0227.jpg|200px]] |
| | | | ||
|- | |- | ||
| Line 1,482: | Line 1,482: | ||
| [[The Murderous Pottery Class|The Murderous Pottery Class (Part 2)]] | | [[The Murderous Pottery Class|The Murderous Pottery Class (Part 2)]] | ||
| Necktie pin | | Necktie pin | ||
| − | | [[File: | + | | [[File:Nch_0228.jpg|200px]] |
| | | | ||
|- | |- | ||
| Line 1,488: | Line 1,488: | ||
| [[The Mysterious Passenger|The Mysterious Passenger (Part 1)]] | | [[The Mysterious Passenger|The Mysterious Passenger (Part 1)]] | ||
| Message | | Message | ||
| − | | [[File: | + | | [[File:Nch_0229.jpg|200px]] |
| | | | ||
|- | |- | ||
| Line 1,494: | Line 1,494: | ||
| [[The Mysterious Passenger|The Mysterious Passenger (Part 2)]] | | [[The Mysterious Passenger|The Mysterious Passenger (Part 2)]] | ||
| Rearview mirror | | Rearview mirror | ||
| − | | [[File: | + | | [[File:Nch_0230.jpg|200px]] |
| | | | ||
|- | |- | ||
| Line 1,500: | Line 1,500: | ||
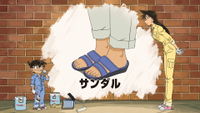
| [[The Falling from the Condo Case]] | | [[The Falling from the Condo Case]] | ||
| Sandal | | Sandal | ||
| − | | [[File: | + | | [[File:Nch_0231.jpg|200px]] |
| | | | ||
|- | |- | ||
| Line 1,506: | Line 1,506: | ||
| [[The Evidence That Didn't Disappear|The Evidence That Didn't Disappear (Part 1)]] | | [[The Evidence That Didn't Disappear|The Evidence That Didn't Disappear (Part 1)]] | ||
| Clock sound | | Clock sound | ||
| − | | [[File: | + | | [[File:Nch_0232.jpg|200px]] |
| | | | ||
|- | |- | ||
| Line 1,512: | Line 1,512: | ||
| [[The Evidence That Didn't Disappear|The Evidence That Didn't Disappear (Part 2)]] | | [[The Evidence That Didn't Disappear|The Evidence That Didn't Disappear (Part 2)]] | ||
| Traces of zabuton cushions | | Traces of zabuton cushions | ||
| − | | [[File: | + | | [[File:Nch_0233.jpg|200px]] |
| | | | ||
|- | |- | ||
| Line 1,518: | Line 1,518: | ||
| [[The Locked Wine Cellar]] | | [[The Locked Wine Cellar]] | ||
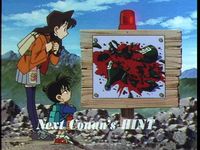
| Smashed wine | | Smashed wine | ||
| − | | [[File: | + | | [[File:Nch_0234.jpg|200px]] |
| | | | ||
|- | |- | ||
| Line 1,524: | Line 1,524: | ||
| [[The Nanki Shirahama Mystery Tour|The Nanki Shirahama Mystery Tour (Part 1)]] | | [[The Nanki Shirahama Mystery Tour|The Nanki Shirahama Mystery Tour (Part 1)]] | ||
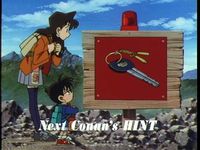
| Car key | | Car key | ||
| − | | [[File: | + | | [[File:Nch_0235.jpg|200px]] |
| | | | ||
|- | |- | ||
| Line 1,530: | Line 1,530: | ||
| [[The Nanki Shirahama Mystery Tour|The Nanki Shirahama Mystery Tour (Part 2)]] | | [[The Nanki Shirahama Mystery Tour|The Nanki Shirahama Mystery Tour (Part 2)]] | ||
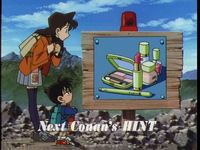
| Cosmetics | | Cosmetics | ||
| − | | [[File: | + | | [[File:Nch_0236.jpg|200px]] |
| | | | ||
|- | |- | ||
| Line 1,536: | Line 1,536: | ||
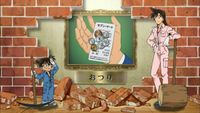
| [[The 3 "K"s of Osaka Case|The 3 "K"s of Osaka Case (Part 1)]] | | [[The 3 "K"s of Osaka Case|The 3 "K"s of Osaka Case (Part 1)]] | ||
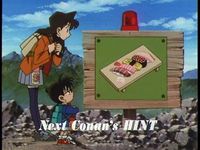
| Sushi | | Sushi | ||
| − | | [[File: | + | | [[File:Nch_0237.jpg|200px]] |
| | | | ||
|- | |- | ||
| Line 1,542: | Line 1,542: | ||
| [[The 3 "K"s of Osaka Case|The 3 "K"s of Osaka Case (Part 2)]] | | [[The 3 "K"s of Osaka Case|The 3 "K"s of Osaka Case (Part 2)]] | ||
| Gunpowder smoke reaction | | Gunpowder smoke reaction | ||
| − | | [[File: | + | | [[File:Nch_0238.jpg|200px]] |
| | | | ||
|- | |- | ||
| Line 1,548: | Line 1,548: | ||
| [[The Shinkansen Transport Case|The Shinkansen Transport Case (Part 1)]] | | [[The Shinkansen Transport Case|The Shinkansen Transport Case (Part 1)]] | ||
| Vehicle restroom | | Vehicle restroom | ||
| − | | [[File: | + | | [[File:Nch_0239.jpg|200px]] |
| | | | ||
|- | |- | ||
| Line 1,554: | Line 1,554: | ||
| [[The Shinkansen Transport Case|The Shinkansen Transport Case (Part 2)]] | | [[The Shinkansen Transport Case|The Shinkansen Transport Case (Part 2)]] | ||
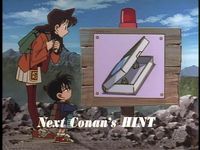
| Newspaper | | Newspaper | ||
| − | | [[File: | + | | [[File:Nch_0240.jpg|200px]] |
| | | | ||
|- | |- | ||
| Line 1,560: | Line 1,560: | ||
| [[Boy Genta's Misfortune]] | | [[Boy Genta's Misfortune]] | ||
| Red, white, and blue | | Red, white, and blue | ||
| − | | [[File: | + | | [[File:Nch_0241.jpg|200px]] |
| | | | ||
|- | |- | ||
| Line 1,566: | Line 1,566: | ||
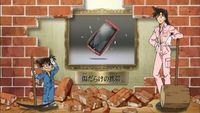
| [[Kogoro Mouri's Imposter|Kogoro Mouri's Imposter (Part 1)]] | | [[Kogoro Mouri's Imposter|Kogoro Mouri's Imposter (Part 1)]] | ||
| Cellphone | | Cellphone | ||
| − | | [[File: | + | | [[File:Nch_0242.jpg|200px]] |
| | | | ||
|- | |- | ||
| Line 1,572: | Line 1,572: | ||
| [[Kogoro Mouri's Imposter|Kogoro Mouri's Imposter (Part 2)]] | | [[Kogoro Mouri's Imposter|Kogoro Mouri's Imposter (Part 2)]] | ||
| Ceiling light | | Ceiling light | ||
| − | | [[File: | + | | [[File:Nch_0243.jpg|200px]] |
| | | | ||
|- | |- | ||
| Line 1,578: | Line 1,578: | ||
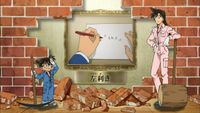
| [[The Gunshot at the Sunflower Estate]] | | [[The Gunshot at the Sunflower Estate]] | ||
| Rotation | | Rotation | ||
| − | | [[File: | + | | [[File:Nch_0244.jpg|200px]] |
| | | | ||
|- | |- | ||
| Line 1,584: | Line 1,584: | ||
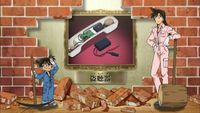
| [[The Mystery in the Net|The Mystery in the Net (Part 1)]] | | [[The Mystery in the Net|The Mystery in the Net (Part 1)]] | ||
| Cellphone number | | Cellphone number | ||
| − | | [[File: | + | | [[File:Nch_0245.jpg|200px]] |
| | | | ||
|- | |- | ||
| Line 1,590: | Line 1,590: | ||
| [[The Mystery in the Net|The Mystery in the Net (Part 2)]] | | [[The Mystery in the Net|The Mystery in the Net (Part 2)]] | ||
| Boat | | Boat | ||
| − | | [[File: | + | | [[File:Nch_0246.jpg|200px]] |
| | | | ||
|- | |- | ||
| Line 1,596: | Line 1,596: | ||
| [[The Alibi of the Soothing Forest]] | | [[The Alibi of the Soothing Forest]] | ||
| Ceramics' clay | | Ceramics' clay | ||
| − | | [[File: | + | | [[File:Nch_0247.jpg|200px]] |
| | | | ||
|- | |- | ||
| Line 1,602: | Line 1,602: | ||
| [[The Celebrities' Secret|The Celebrities' Secret (Part 1)]] | | [[The Celebrities' Secret|The Celebrities' Secret (Part 1)]] | ||
| Autograph square | | Autograph square | ||
| − | | [[File: | + | | [[File:Nch_0248.jpg|200px]] |
| | | | ||
|- | |- | ||
| Line 1,608: | Line 1,608: | ||
| [[The Celebrities' Secret|The Celebrities' Secret (Part 2)]] | | [[The Celebrities' Secret|The Celebrities' Secret (Part 2)]] | ||
| Gloves with holes in them | | Gloves with holes in them | ||
| − | | [[File: | + | | [[File:Nch_0249.jpg|200px]] |
| | | | ||
|- | |- | ||
| Line 1,614: | Line 1,614: | ||
| [[The Tragedy at the OK Corral]] | | [[The Tragedy at the OK Corral]] | ||
| Horseshoes | | Horseshoes | ||
| − | | [[File: | + | | [[File:Nch_0250.jpg|200px]] |
| | | | ||
|- | |- | ||
| Line 1,620: | Line 1,620: | ||
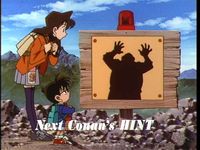
| [[The Kidnapper in the Picture]] | | [[The Kidnapper in the Picture]] | ||
| Silhouette | | Silhouette | ||
| − | | [[File: | + | | [[File:Nch_0251.jpg|200px]] |
| | | | ||
|- | |- | ||
| Line 1,626: | Line 1,626: | ||
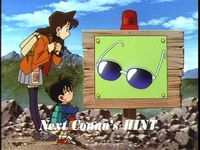
| [[Metropolitan Police Detective Love Story 4|Metropolitan Police Detective Love Story 4 (Part 1)]] | | [[Metropolitan Police Detective Love Story 4|Metropolitan Police Detective Love Story 4 (Part 1)]] | ||
| Sunglasses | | Sunglasses | ||
| − | | [[File: | + | | [[File:Nch_0252.jpg|200px]] |
| | | | ||
|- | |- | ||
| Line 1,632: | Line 1,632: | ||
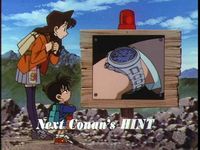
| [[Metropolitan Police Detective Love Story 4|Metropolitan Police Detective Love Story 4 (Part 2)]] | | [[Metropolitan Police Detective Love Story 4|Metropolitan Police Detective Love Story 4 (Part 2)]] | ||
| Wristwatch | | Wristwatch | ||
| − | | [[File: | + | | [[File:Nch_0253.jpg|200px]] |
| | | | ||
|} | |} | ||
Revision as of 23:34, 22 June 2018
Contents
- 1 Next Conan's Hints
- 1.1 Season 1
- 1.2 Season 2
- 1.3 Season 3
- 1.4 Season 4
- 1.5 Season 5
- 1.6 Season 6
- 1.7 Season 7
- 1.8 Season 8
- 1.9 Season 9
- 1.10 Season 10
- 1.11 Season 11
- 1.12 Season 12
- 1.13 Season 13
- 1.14 Season 14
- 1.15 Season 15
- 1.16 Season 16
- 1.17 Season 17
- 1.18 Season 18
- 1.19 Season 19
- 1.20 Season 20
- 1.21 Season 21
- 1.22 Season 22
- 1.23 Season 23
- 1.24 Season 24
- 1.25 Season 25
- 1.26 Season 26
- 1.27 Season 27
- 2 See also
Next Conan's Hints
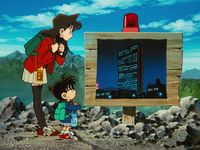
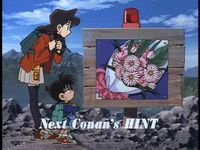
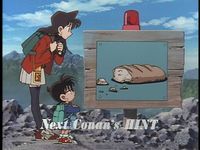
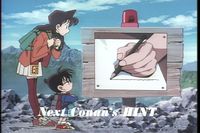
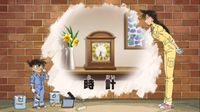
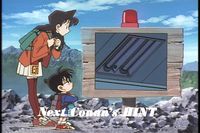
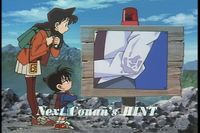
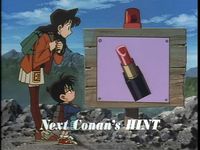
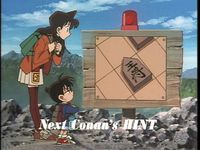
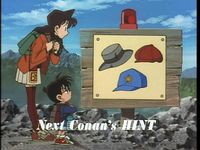
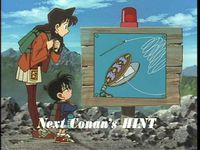
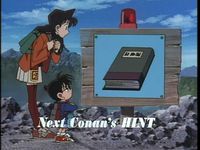
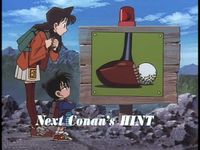
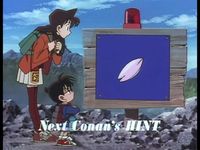
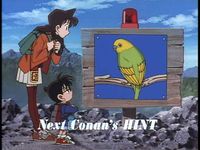
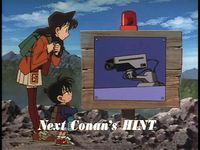
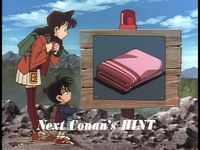
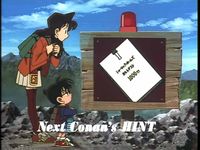
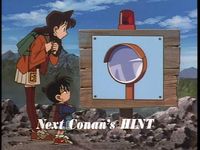
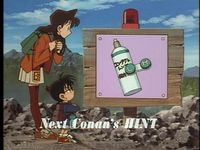
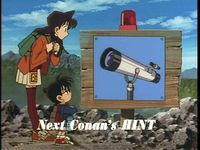
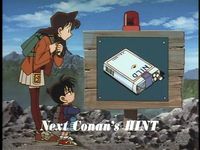
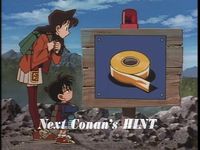
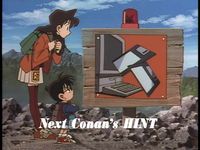
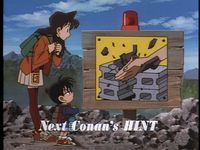
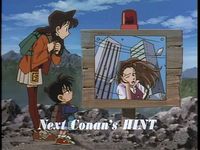
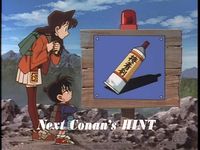
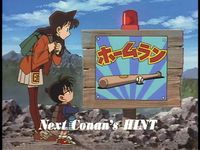
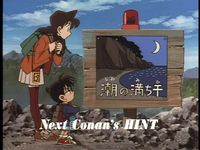
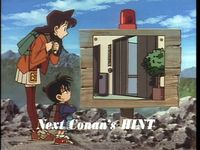
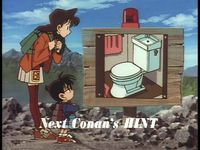
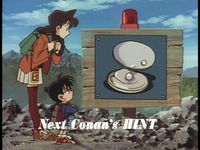
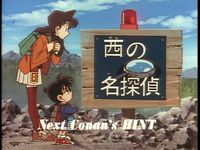
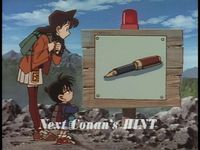
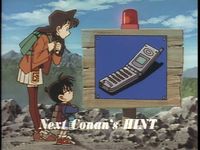
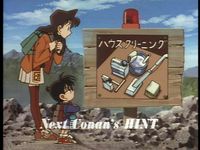
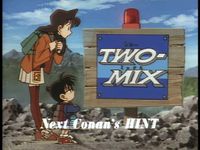
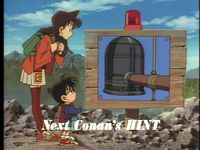
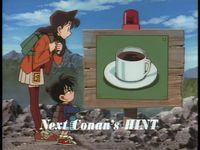
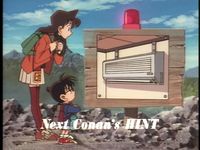
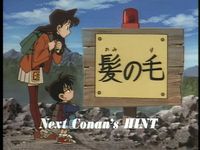
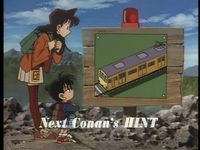
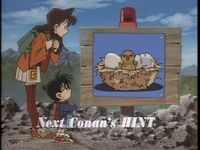
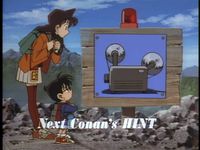
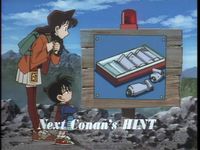
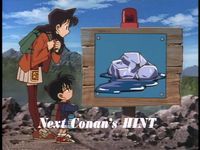
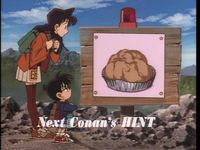
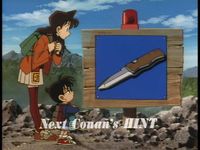
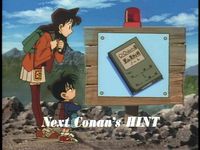
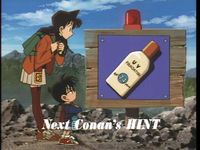
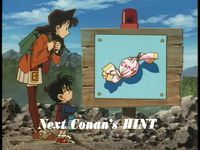
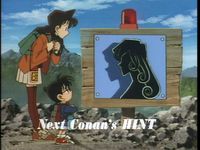
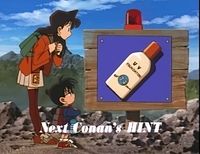
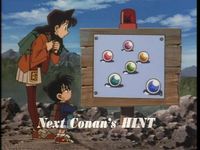
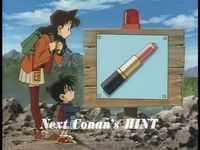
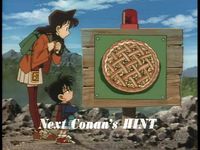
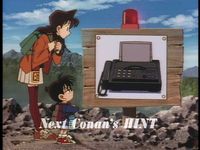
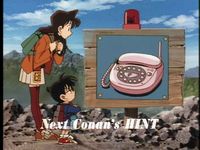
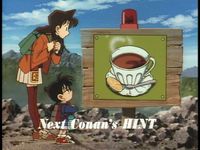
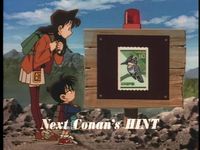
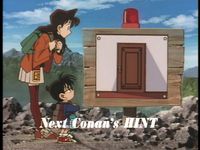
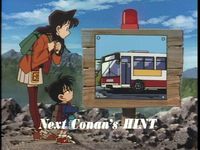
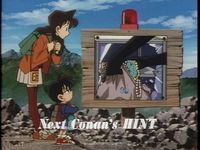
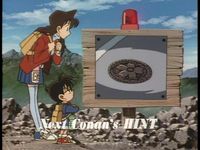
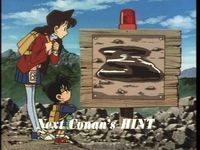
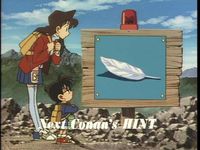
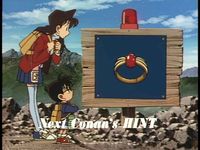
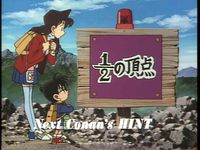
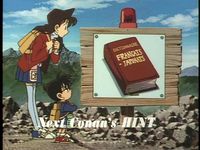
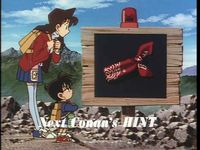
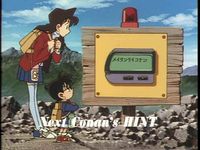
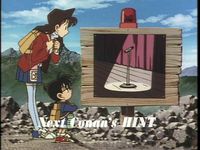
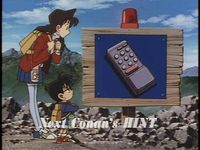
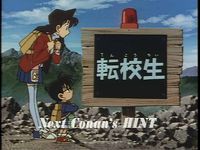
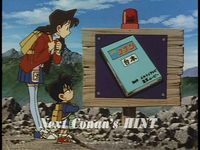
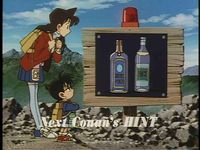
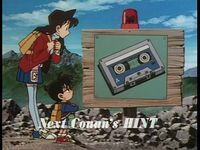
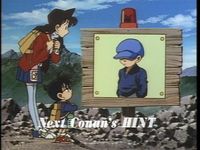
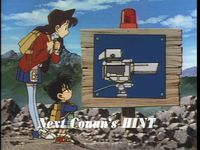
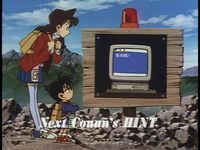
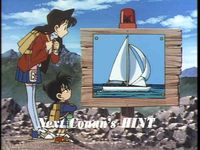
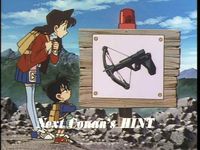
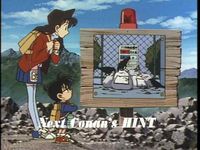
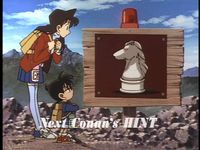
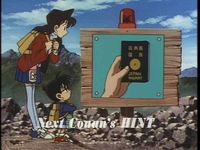
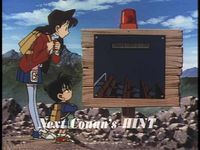
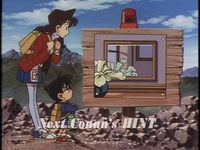
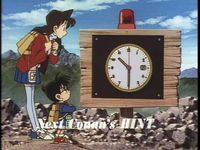
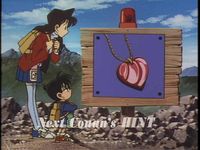
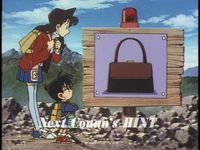
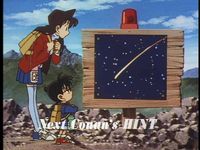
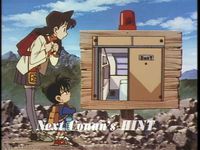
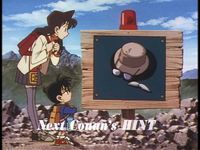
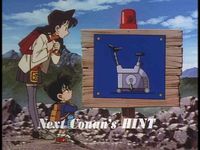
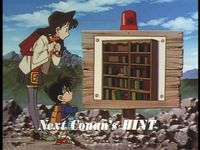
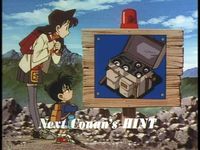
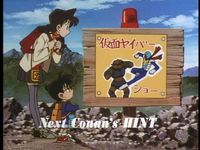
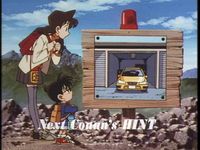
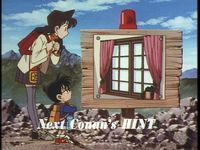
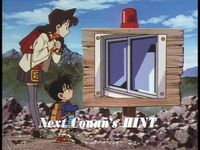
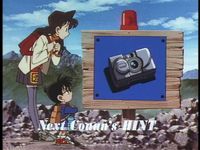
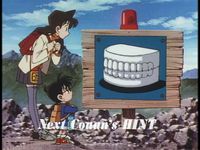
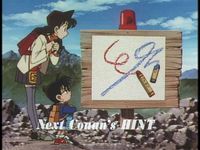
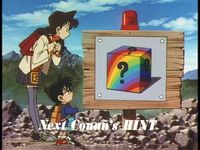
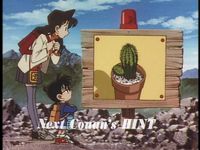
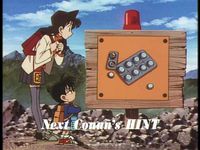
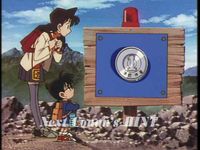
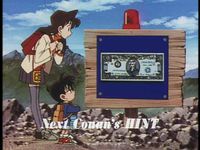
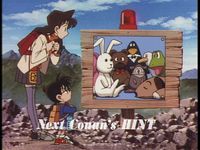
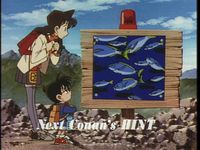
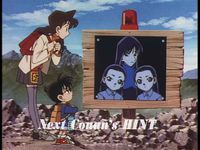
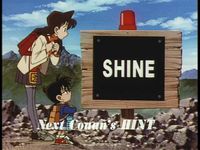
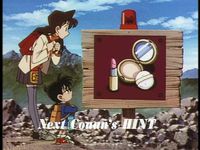
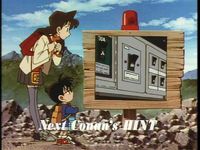
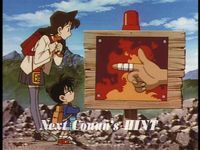
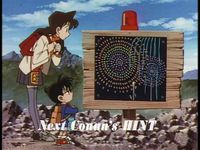
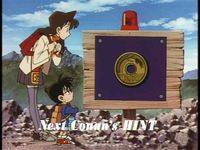
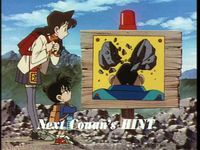
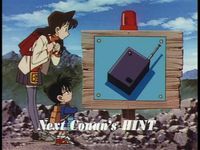
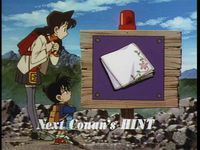
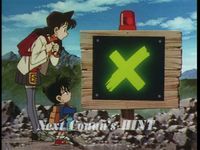
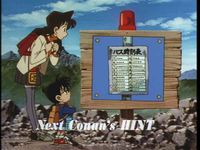
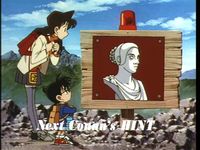
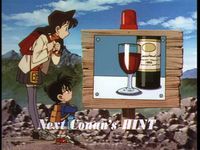
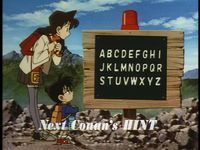
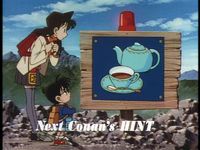
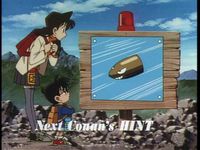
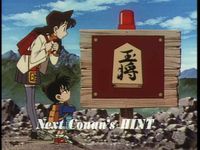
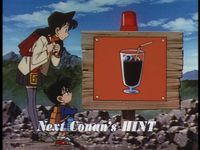
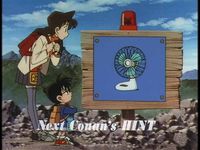
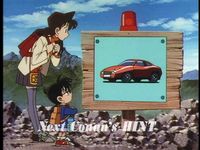
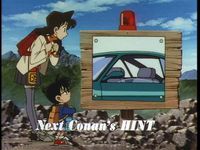
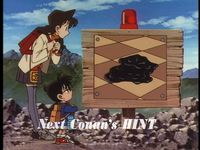
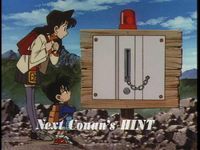
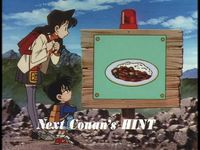
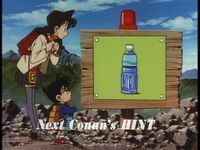
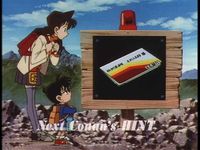
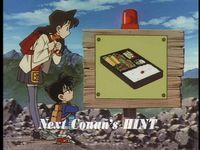
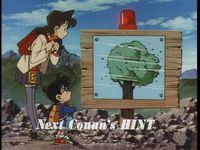
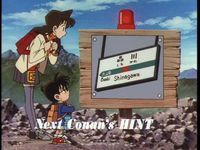
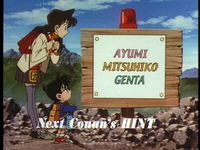
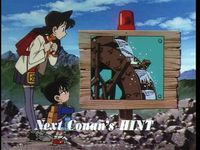
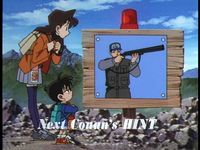
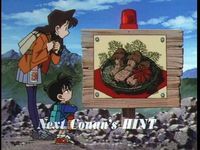
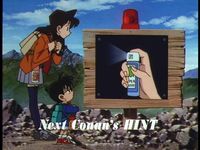
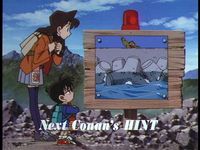
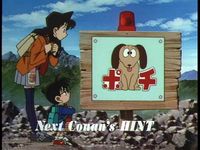
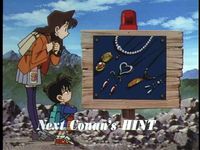
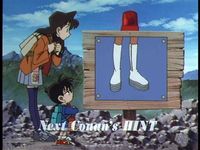
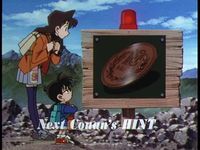
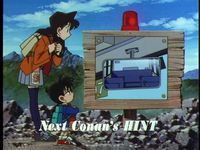
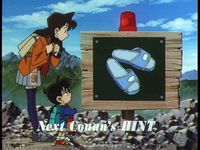
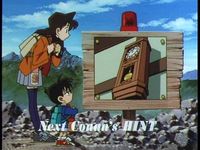
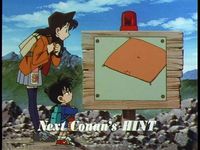
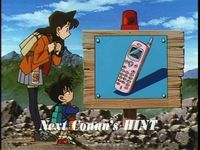
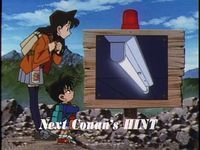
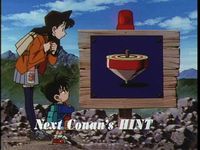
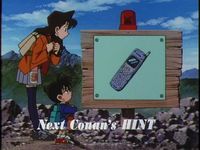
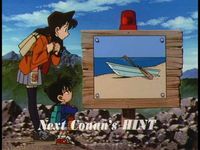
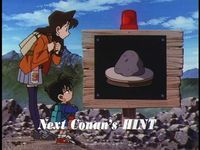
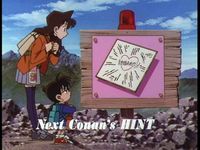
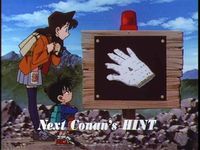
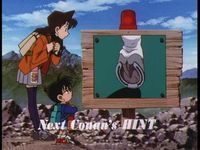
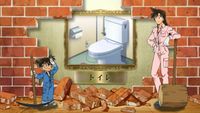
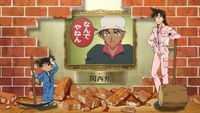
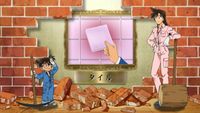
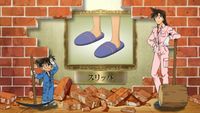
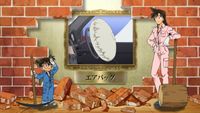
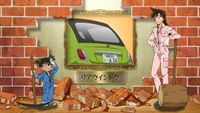
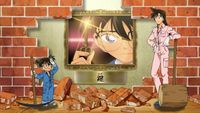
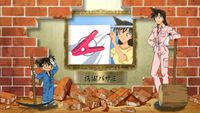
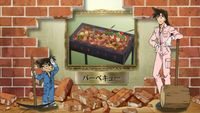
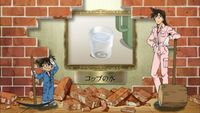
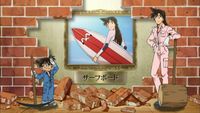
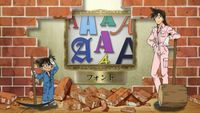
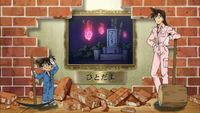
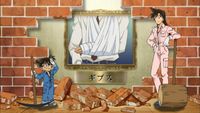
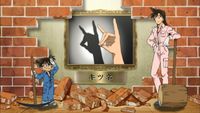
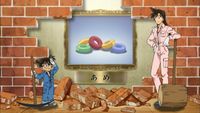
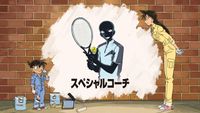
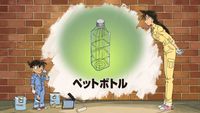
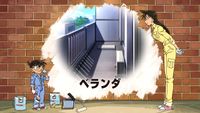
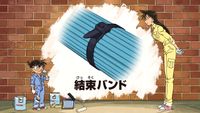
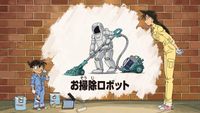
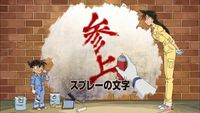
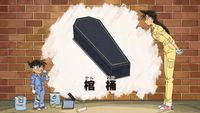
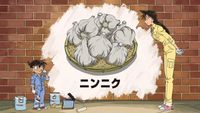
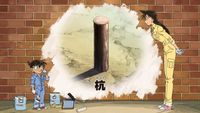
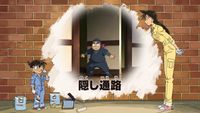
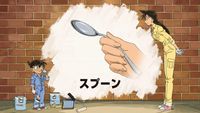
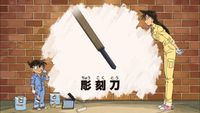
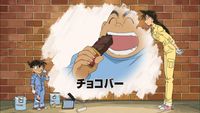
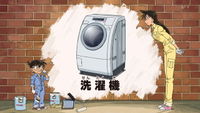
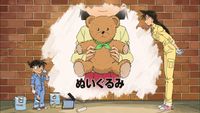
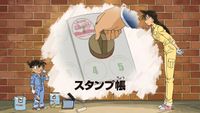
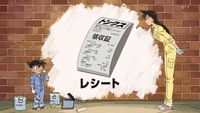
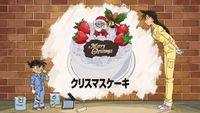
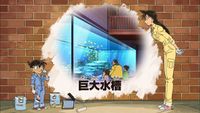
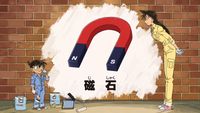
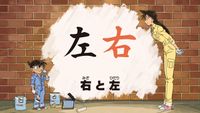
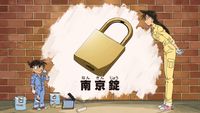
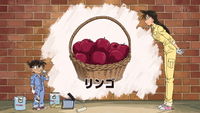
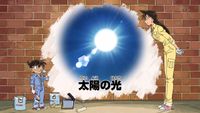
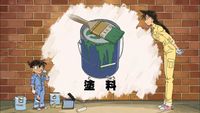
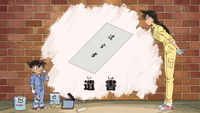
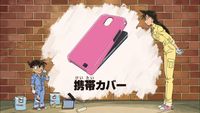
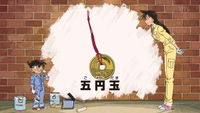
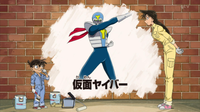
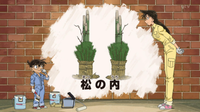
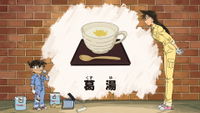
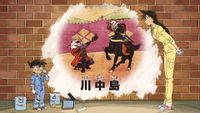
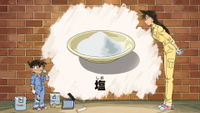
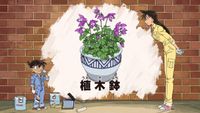
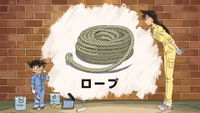
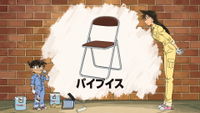
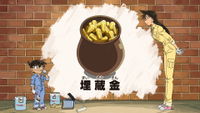
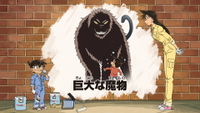
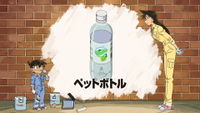
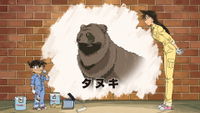
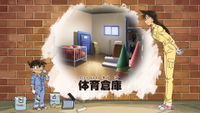
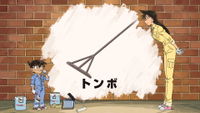
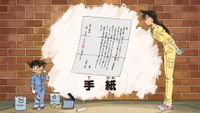
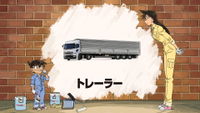
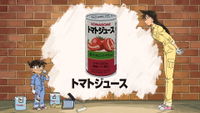
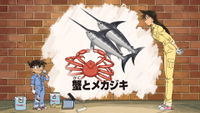
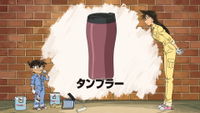
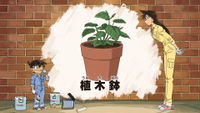
The 'Next Conan Hint' (ネクストコナンズヒント Nekusuto Konan zu Hinto) is a hint featured at the end of the episode which has deduction importance for the next episode/case. The Hint is presented in still visual with characters in the frame. The Hint is accompanied by Conan's voice, which announces the Hint.
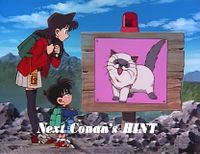
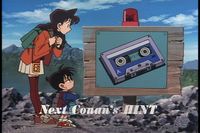
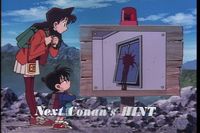
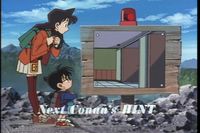
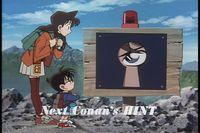
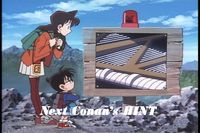
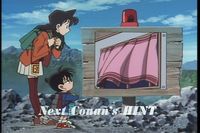
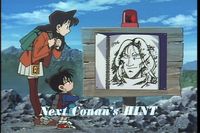
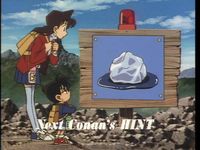
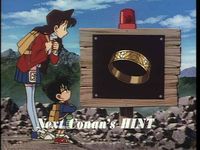
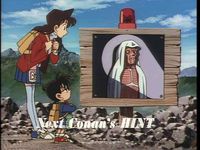
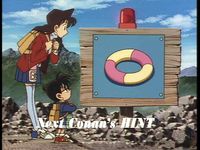
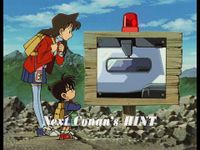
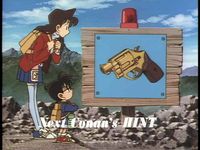
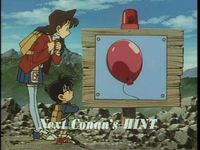
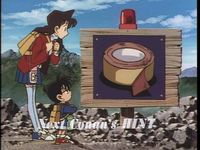
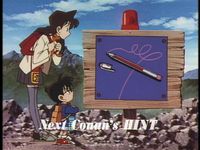
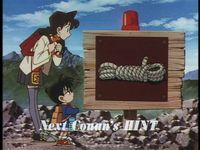
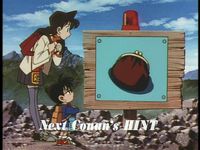
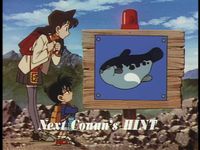
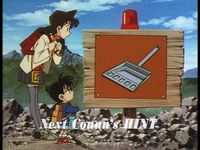
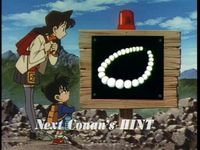
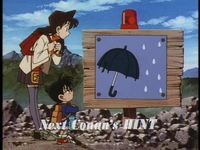
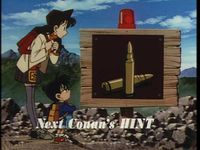
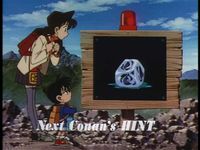
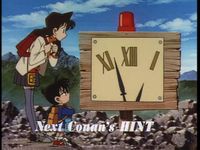
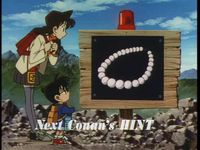
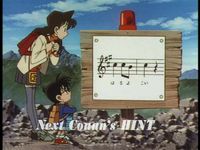
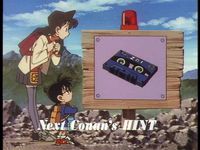
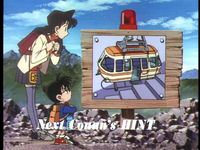
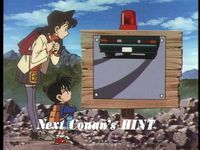
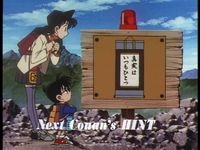
The Hints have been provided with many different backgrounds. The first background had Conan and Ran in a mountain terrain standing beside a notice board with a red siren on top. The Hint was provided on the notice board with siren sound.
Season 1
Season 2
Season 3
Season 4
Season 5
Season 6
Season 7
Season 8
Season 9
Season 10
Season 11
Season 12
Season 13
Season 14
Season 15
Season 16
Season 17
Season 18
Season 19
Season 20
Season 21
Season 22
Season 23
Season 24
Season 25
Season 26
Season 27
See also
