Difference between revisions of "Dancing Demon at the Noh Mask Mansion"
From Detective Conan Wiki
(→Resolution) |
(→Resolution) |
||
| Line 77: | Line 77: | ||
=== Resolution === | === Resolution === | ||
<spoiler> | <spoiler> | ||
| − | The culprit is Toba | + | The culprit is '''Hatsuho Toba'''. She killed Akaza by applying the poison on the back of her spoon when trying the cheese so the poison would get on all but the section of cheese that she tasted. Then she switched out the spoon when she wiped away the dropped cheese on Jisaburou's clothing. She stabbed Moyono with an iron skewer when Moyono's guard was down. She proceeded to stab Jisaburou with two iron skewers connected together to make the wound look like a chisel. |
She wrote the letter to Mouri so he could prove her innocence. | She wrote the letter to Mouri so he could prove her innocence. | ||
</spoiler> | </spoiler> | ||
Revision as of 16:14, 10 November 2013
| Episode 716-717 (Int. Episode {{{int-episode}}}) | |
| Title: | Dancing Demon at the Noh Mask Mansion |
|---|---|
| Japanese title: | 能面屋敷に鬼が踊る (Nōmen Yashiki ni Oni ga Odoru) |
| Original airdate: | November 2, 2013 (Part 1) November 9, 2013 (Part 2) |
| Season: | 22 |
| Manga source: | TV Original |
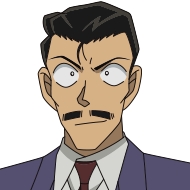
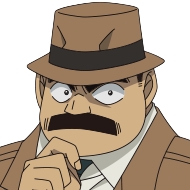
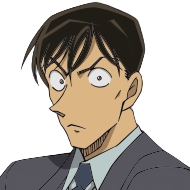
| Cast: | Conan Edogawa Kogoro Mouri Ran Mouri Inspector Megure Wataru Takagi |
| Case solved by: | Kogoro Mouri (via Conan) |
| Next Conan's Hint: | Chisel (Part 1) Chocolate bar (Part 2) |
| Opening song: | Q&A |
| Closing song: | Kimi no Egao ga Nani Yori mo Suki Datta |
| Prev episode: | « Heiji Hattori and the Vampire Mansion |
| Next episode: | The Devil's Circuit » |
| List of episodes | |
