Holmes' Revelation/Gallery: Difference between revisions
Ushiwakamaru (talk | contribs) - sub eng |
Ushiwakamaru (talk | contribs) - sub eng |
||
| Line 10: | Line 10: | ||
Image:Ran Mad EP617 (2).jpg| | Image:Ran Mad EP617 (2).jpg| | ||
Image:vlcsnap-2013-11-13-20h52m43s158.png| | Image:vlcsnap-2013-11-13-20h52m43s158.png| | ||
Image:vlcsnap-2013-11-13-21h03m11s250.png| | Image:vlcsnap-2013-11-13-21h03m11s250.png| | ||
Image:vlcsnap-2013-11-13-21h05m28s121.png| | Image:vlcsnap-2013-11-13-21h05m28s121.png| | ||
Image:vlcsnap-2013-11-13-21h07m45s219.png| | Image:vlcsnap-2013-11-13-21h07m45s219.png| | ||
Revision as of 16:03, 9 February 2023
This is a gallery of images for the episode: Holmes' Revelation.
-

-

-

-

-

-

-

-

-

-
-

-

-
-
-

-

-

-

-

-

-
-

-
-
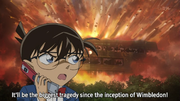 The building is exploded from Hades
 -
 Hades mad from the past
 -

-
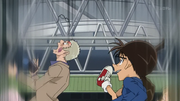 Conan Strike the culprit
 -
-
-

-
-

-
-

-

-

-

-

-

-

-

-

-

-

-

-


.jpg)
.jpg)
.jpg)
.jpg)
.jpg)


