Difference between revisions of "Conan in a Locked Room/Gallery"
From Detective Conan Wiki
| (3 intermediate revisions by 3 users not shown) | |||
| Line 1: | Line 1: | ||
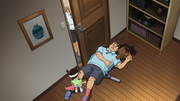
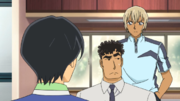
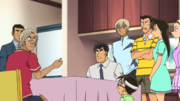
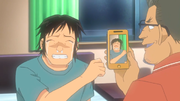
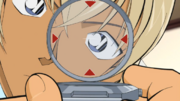
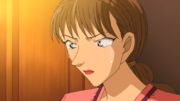
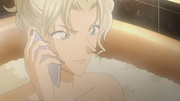
This is a gallery of images for the episode: [[Conan in a Locked Room]]. | This is a gallery of images for the episode: [[Conan in a Locked Room]]. | ||
| − | <gallery widths= | + | == Screenshots == |
| + | === Part 1 === | ||
| + | <gallery widths=180px perrow=5> | ||
Image:705 01.png| | Image:705 01.png| | ||
Image:705 15.png| | Image:705 15.png| | ||
| Line 15: | Line 17: | ||
Image:705 11.png| | Image:705 11.png| | ||
Image:705 12.png| | Image:705 12.png| | ||
| + | </gallery> | ||
| + | |||
| + | === Part 2 === | ||
| + | <gallery widths=180px perrow=5> | ||
Image:706-01.png| | Image:706-01.png| | ||
Image:706-02.png| | Image:706-02.png| | ||
| Line 27: | Line 33: | ||
Image:706-11 Bathtub Vermouth.png| | Image:706-11 Bathtub Vermouth.png| | ||
Image:AmuroConan.jpg| | Image:AmuroConan.jpg| | ||
| + | File:705 11a.png| | ||
</gallery> | </gallery> | ||
Latest revision as of 06:10, 21 December 2025
This is a gallery of images for the episode: Conan in a Locked Room.


